Table of Contents
Have you ever looked at your favorite pair of leggings and thought, "Man, these are faded. I wish they were black again!"? Well, wonder no more! This article tackles the burning question: can you dye leggings black? The answer, thankfully, is a resounding yes (with a few caveats, of course). We'll guide you through the entire process, from choosing the right dye for your specific leggings material to tackling those pesky common dyeing problems. We'll cover everything you need to know to successfully dye your leggings black, transforming worn-out fabrics into stylish staples once again. Whether your leggings are made of cotton, polyester, or a blend, we've got the information you need to achieve that perfect, rich black color. Ready to breathe new life into your wardrobe? Let's dive in and discover how easy it is to answer the question: can you dye leggings black, and get the results you want. Prepare to be amazed by how simple this process can be!
Dyeing Leggings Black: A Beginner's Guide
Dyeing Leggings Black: A Beginner's Guide
Gathering Your Supplies
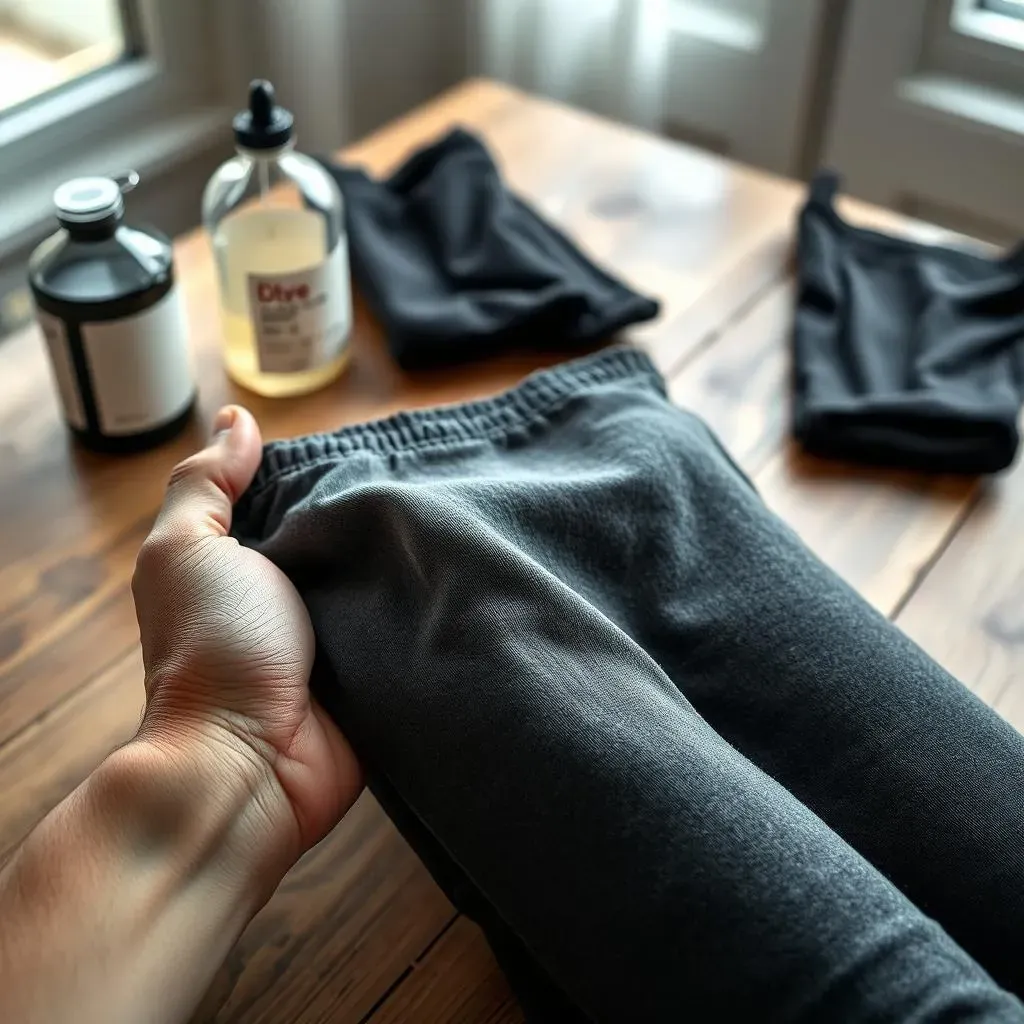
First things first, you'll need to gather your supplies. This isn't rocket science, but having everything ready makes the process smoother. You'll need a dye specifically designed for the fabric of your leggings (more on that in the next section!). Make sure to check the label carefully, as different dyes work best with different materials. Some dyes work better with natural fibers like cotton, while others are formulated for synthetics like polyester or nylon. Getting the right dye is key to success. You'll also need a large pot (stainless steel is best), rubber gloves (dye can stain!), and some tongs or a spoon for handling the leggings. Don't forget a well-ventilated area to work in, too, as some dyes have strong smells.
Oh, and don't forget to pre-wash your leggings! This removes any finishes or sizing that might prevent the dye from properly adhering to the fabric. It's a small step, but a crucial one for achieving a vibrant, even color. Think of it like prepping a canvas before you paint a masterpiece – you wouldn't skip that step, would you?
Item | Description |
|---|---|
Fabric Dye | Choose a dye appropriate for your leggings' material. |
Large Pot | Stainless steel is ideal to prevent dye reactions. |
Rubber Gloves | Protect your hands from staining. |
Preparing Your Dye Bath
Now it's time to create your magical dye bath! Follow the instructions on your dye package meticulously; each brand is slightly different. Generally, you'll heat water in your pot and then add the dye according to the instructions. Stir gently but thoroughly to ensure the dye dissolves evenly. The temperature of the water is also important, so make sure you follow the instructions on the dye packaging carefully. Some dyes require hot water, while others need boiling water. Don't rush this step; a properly mixed dye bath is the foundation of a successful project. Trust me, it's worth taking your time!
Before you submerge your leggings, it's a good idea to check the color of the dye bath. Does it look like the shade of black you're aiming for? If it's too light, you might need to add more dye. Remember, you can always add more dye, but you can't take it away! It's better to err on the side of caution and add dye gradually until you achieve the desired depth of color. This ensures a consistent, even dye job.
If you're feeling adventurous and want to learn more about the relationship between leggings and yoga pants, check out our article: leggings vs. yoga pants.
Dyeing Your Leggings
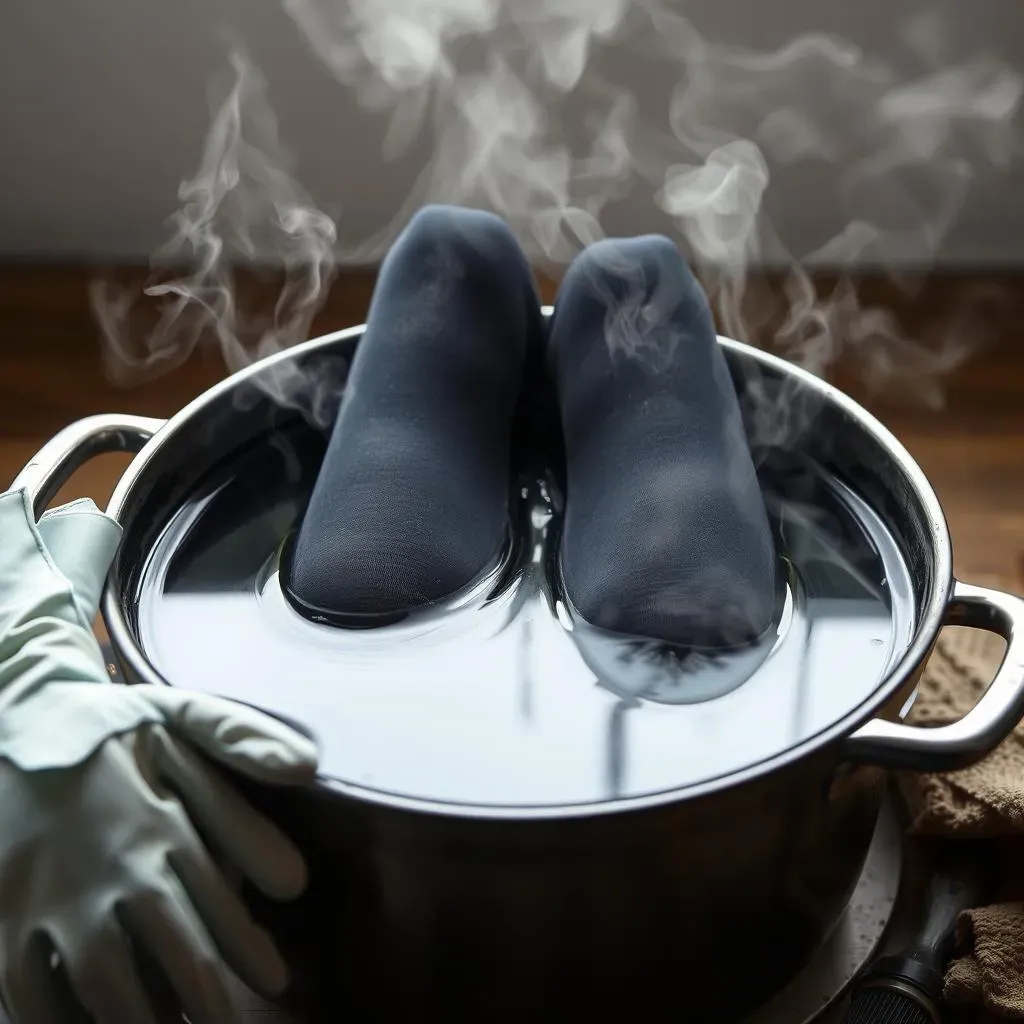
With your dye bath prepped, it's time to add your leggings! Submerge them completely, ensuring there are no air pockets trapped within the fabric. This prevents uneven dyeing. Use your tongs or spoon to gently push the leggings down and ensure full submersion. Once they're fully submerged, you'll want to stir them occasionally to keep the dye circulating and prevent color inconsistencies. Think of it as a gentle dance between you and your leggings – a harmonious blend of care and precision.
The amount of time you leave your leggings in the dye bath will depend on the dye itself and the depth of color you desire. Always consult the instructions on your dye package, as this will provide the most accurate timing recommendations. Generally, you'll need to keep them in for at least 30-60 minutes, but remember, longer doesn't always mean better. Over-dyeing can sometimes lead to unexpected results. Pay close attention to the instructions and check the color periodically to ensure you're achieving the desired shade of black.
- Submerge leggings completely.
- Stir gently and frequently.
- Monitor color and adjust time as needed.
Choosing the Right Dye for Your Black Leggings
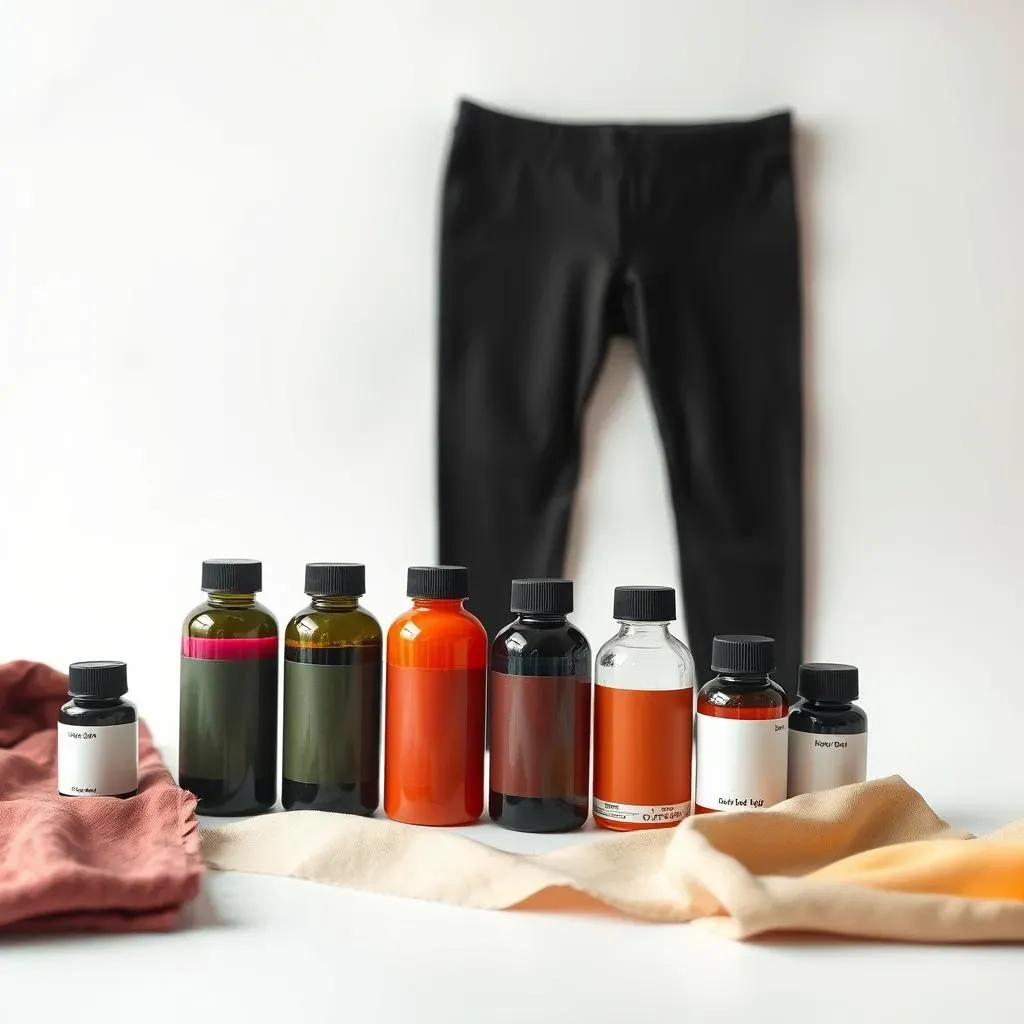
Choosing the Right Dye for Your Black Leggings
Picking the right dye is crucial – it's the star of the show! The fabric content of your leggings dictates the type of dye you need. Cotton, linen, and other natural fibers play nicely with fiber-reactive dyes or all-purpose dyes. Polyester, nylon, and other synthetics, however, demand a dye specifically designed for synthetics. Using the wrong dye will lead to disappointing results. Imagine trying to paint a watercolor on canvas with oil paints – it just won't work! So check that label carefully, my friend. Don't be shy; read those instructions like you're studying for a big exam. The type of dye you choose will impact not only the color but also the vibrancy and longevity of your black leggings.
Let's talk about colorfastness. This is how well the dye holds up to washing and wear. Some dyes are more colorfast than others, so if you want your newly dyed black leggings to stay black for a long time, you'll want to invest in a high-quality, colorfast dye. Think of it like this: a cheap dye is like a cheap pair of shoes – they might look good at first, but they won't last long. A good dye, on the other hand, is an investment in long-lasting style and satisfaction. It's all about those long-term gains, my friend. For a deeper understanding of fabric types, check out our guide on leggings and yoga pants.
Fabric Type | Recommended Dye Type |
|---|---|
Cotton, Linen (Natural Fibers) | Fiber-reactive dye or all-purpose dye |
Polyester, Nylon (Synthetic Fibers) | Dye specifically for synthetics |
Beyond the type of dye, consider the brand. Some brands are known for their superior quality and vibrant colors. Don't hesitate to do a little research and read reviews before making your purchase. A little research can save you from a lot of frustration and ensure you get the perfect black color. Think of it like selecting the right paint for a painting – you wouldn't want to use cheap paint for a masterpiece, would you?
Finally, don't forget about the quantity! You'll want to make sure you have enough dye to fully saturate your leggings. It's better to have a little extra than to run out mid-dye. A lack of dye can lead to uneven color and a less-than-perfect result. It’s always better to have a little extra to ensure that your leggings are evenly dyed. Think of it like baking a cake – you wouldn't want to run out of ingredients halfway through, would you? Having enough dye will help you achieve the perfect, even color you're aiming for.
- Check reviews before buying.
- Buy enough dye for full saturation.
- Consider colorfastness for long-lasting results.
Troubleshooting Common Problems When Dyeing Leggings Black
Troubleshooting Common Problems When Dyeing Leggings Black
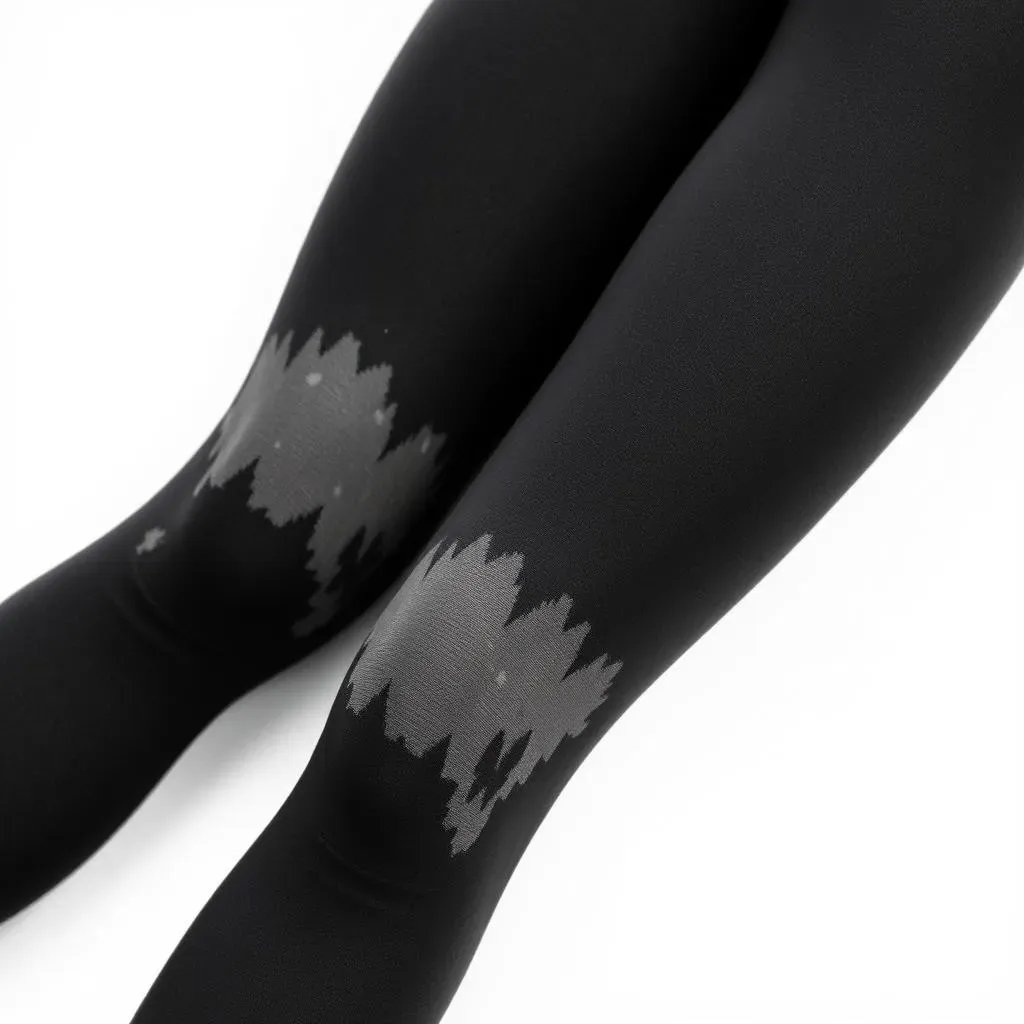
Uneven Dyeing: The Patchwork Problem
Ah, the dreaded uneven dye job! This is a common problem, but thankfully, often preventable. The culprit is usually air pockets trapped in the fabric. Make sure your leggings are completely submerged in the dye bath, and use a spoon or tongs to gently work them around, ensuring the dye reaches every inch. Think of it like kneading dough – you want to ensure even distribution throughout. If you still end up with patches, don't despair; sometimes a second dye bath can help to even out the color. Just repeat the process, being extra careful to avoid air pockets this time around. Remember, patience is key!
Another cause of uneven dyeing could be related to the type of fabric you're working with. If you have a blend of fabrics, some parts might absorb the dye differently. This is where knowing your leggings' composition becomes critical. Understanding the different fabric types and how they react to dye is crucial for achieving that perfect black color. Check out more about fabric types in our article on leggings vs. yoga pants for a better understanding.
- Ensure complete submersion.
- Gently agitate leggings in the dye bath.
- Consider a second dye bath if needed.
Color Not Dark Enough: The "Almost Black" Dilemma
Sometimes, despite your best efforts, your leggings don't reach that deep, rich black you're aiming for. This can be due to several factors. First, make sure you're using enough dye. Follow the package instructions carefully, but remember that more dye often means a darker color (within reason, of course!). Also, ensure your dye bath is at the correct temperature – too cool, and the dye won't penetrate the fabric effectively. A properly heated dye bath is essential for achieving a rich, deep black. Double-check your dye's instructions and make sure you've followed them to the letter.
Another factor could be the type of dye you chose. Some dyes are simply more vibrant than others. If you're unhappy with the results, you might need to repeat the process with a different dye, one known for its intense color. Alternatively, you might consider using a dye fixative to help the dye bind more effectively to the fabric. A dye fixative acts as a binding agent, helping to ensure that the dye stays put and produces a more vibrant and long-lasting color. Think of it as an insurance policy for your color!
Possible Cause | Solution |
|---|---|
Insufficient dye | Use more dye according to package instructions. |
Incorrect temperature | Check dye instructions and adjust accordingly. |
Low-quality dye | Use a different, more vibrant dye. |