Table of Contents
Ever dreamed of the perfect pair of yoga pants? You know, the ones that feel like a hug but let you move like a ninja? Well, dream no more! We're diving into the world of comfy, stylish, and oh-so-practical wide leg yoga pants. And the best part? You can make them yourself! This article is your guide to the Dayna wide leg yoga pants pattern, a free sewing pattern that’s about to become your new best friend. Forget those restrictive leggings; wide leg yoga pants are all about freedom and comfort. We'll explore why this style is a game-changer, break down the pattern’s features, and walk you through each step, from printing to hemming. Whether you're a sewing pro or a total newbie, this guide will give you the confidence to create your own custom-fit, wide leg yoga pants. Get ready to unleash your inner designer and say hello to your new favorite pants, all thanks to this amazing wide leg yoga pants pattern!
Why Wide Leg Yoga Pants are a MustHave
Why Wide Leg Yoga Pants are a MustHave
Comfort is King (and Queen!)
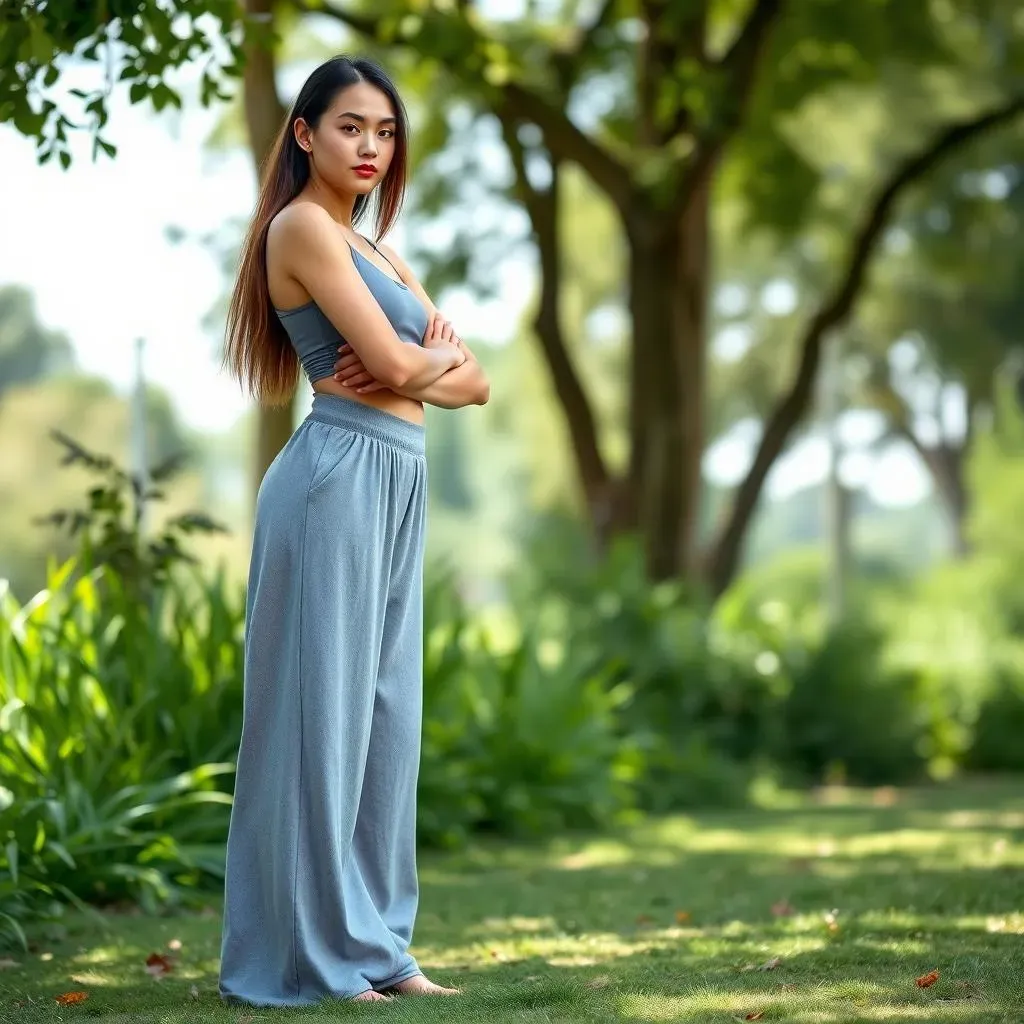
Okay, let's be real, who doesn't love feeling comfy? Wide leg yoga pants are like wearing a cloud. Seriously! Unlike those super tight leggings that can feel like they're cutting off your circulation, these pants give your legs room to breathe. They don't cling, they don't pinch, they just flow. It's like your legs are on a permanent vacation. I've worn mine everywhere, from lounging on the couch to running errands, and they're always a win. Plus, when you're doing yoga or any kind of movement, that extra space is a game changer. No more feeling like you're trapped in a sausage casing, just pure, unadulterated comfort.
Think about it: you're trying to nail that tricky balancing pose, and suddenly you're distracted by your pants digging into your waist. Not cool, right? Wide leg yoga pants eliminate that problem. They let you bend, stretch, and move without any restrictions. It's like a gentle hug that supports you without holding you back. And let’s not forget the glorious feeling of freedom. It’s the kind of freedom that makes you want to do a little dance in the middle of the grocery store aisle, and honestly, I have.
Style and Versatility
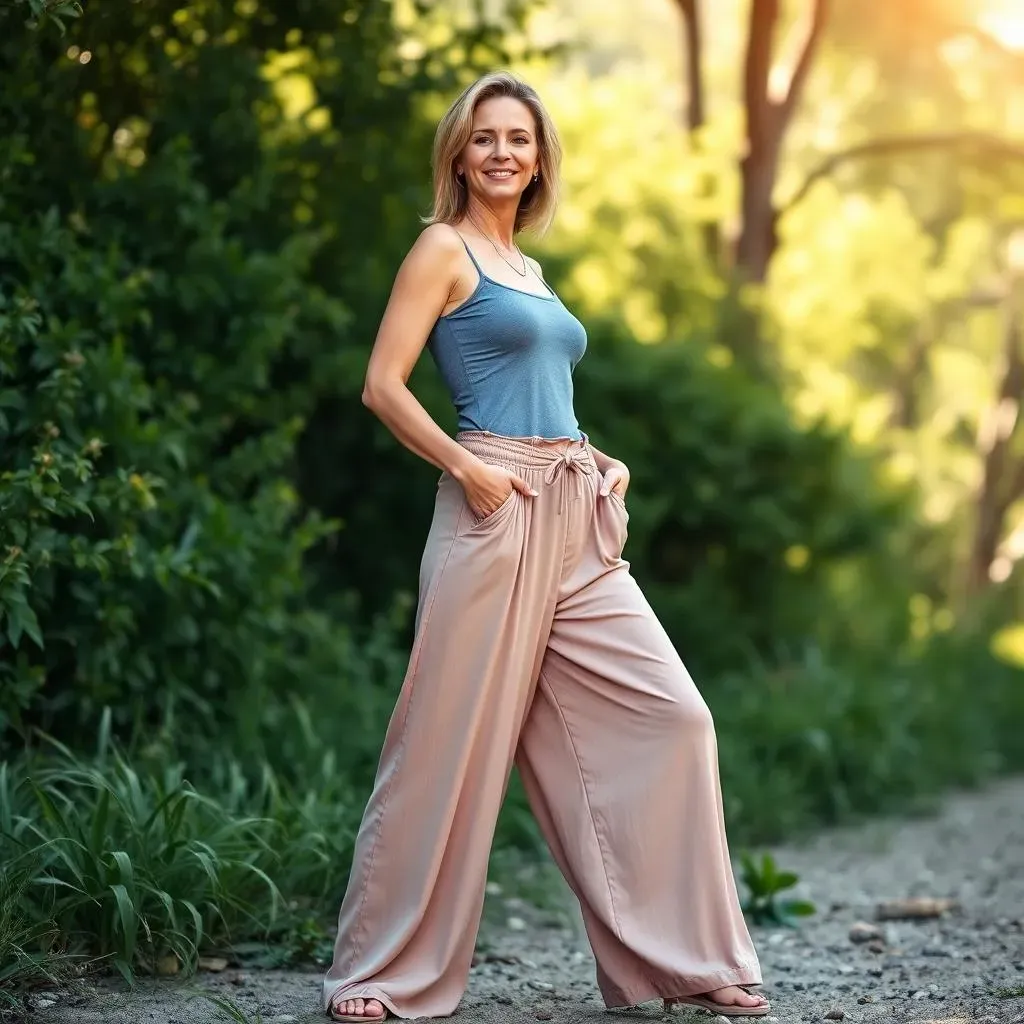
But comfort isn't the only reason to love these pants. They're also incredibly stylish. They've got that cool, relaxed vibe that works for so many different looks. You can dress them up with a nice top and some cute shoes, or keep it casual with a t-shirt and sneakers. I've even seen people rock them with blazers for a chic, effortless look. They're not just for yoga anymore; they're for life! And because they're so versatile, you can really get your money's worth. One pair of wide leg yoga pants can take you from a workout to brunch to a night out without missing a beat.
Plus, let’s talk about the flattering factor. The wide leg design is surprisingly forgiving and can actually make your legs look longer. And who doesn’t want that? It’s like a magic trick for your figure! I swear, every time I wear mine, I feel just a little bit more put-together. So, if you're looking for pants that are both comfy and stylish, wide leg yoga pants are the way to go. They’re the perfect blend of function and fashion, and you'll wonder how you ever lived without them.
Benefit | Description |
|---|---|
Comfort | Loose, non-restrictive fit allows for free movement and breathability. |
Versatility | Can be dressed up or down, suitable for various activities. |
Style | On-trend design that flatters different body types. |
Freedom | Allows you to move unrestricted. |
Understanding the Dayna Wide Leg Yoga Pants Pattern
Understanding the Dayna Wide Leg Yoga Pants Pattern
Alright, so you're hooked on the idea of wide leg yoga pants, right? Now, let's get into the nitty-gritty of the Dayna pattern. This isn't just any pattern, it's your ticket to custom-fit comfort. First off, it's a free PDF, which is always a win in my book. No need to spend a fortune on a pattern you might only use a few times. It comes in a range of sizes, from XXS to 5XL, so there's a fit for pretty much everyone. The Dayna pattern is designed specifically for knit fabrics, think those soft, stretchy materials that feel amazing against your skin. This is key, because the stretch is what makes these pants so comfy and allows them to move with you. It features an extra-high waist, which I personally love because it gives you that extra bit of support and coverage. Plus, the legs are ankle-length and wide, giving you that flowy, relaxed look we all crave. It’s designed to be both comfortable and flattering, a winning combo if you ask me. This pattern is designed to be easy to use, even if you're not a sewing wizard. It's like the pattern is holding your hand and guiding you through the process, which I really appreciate.
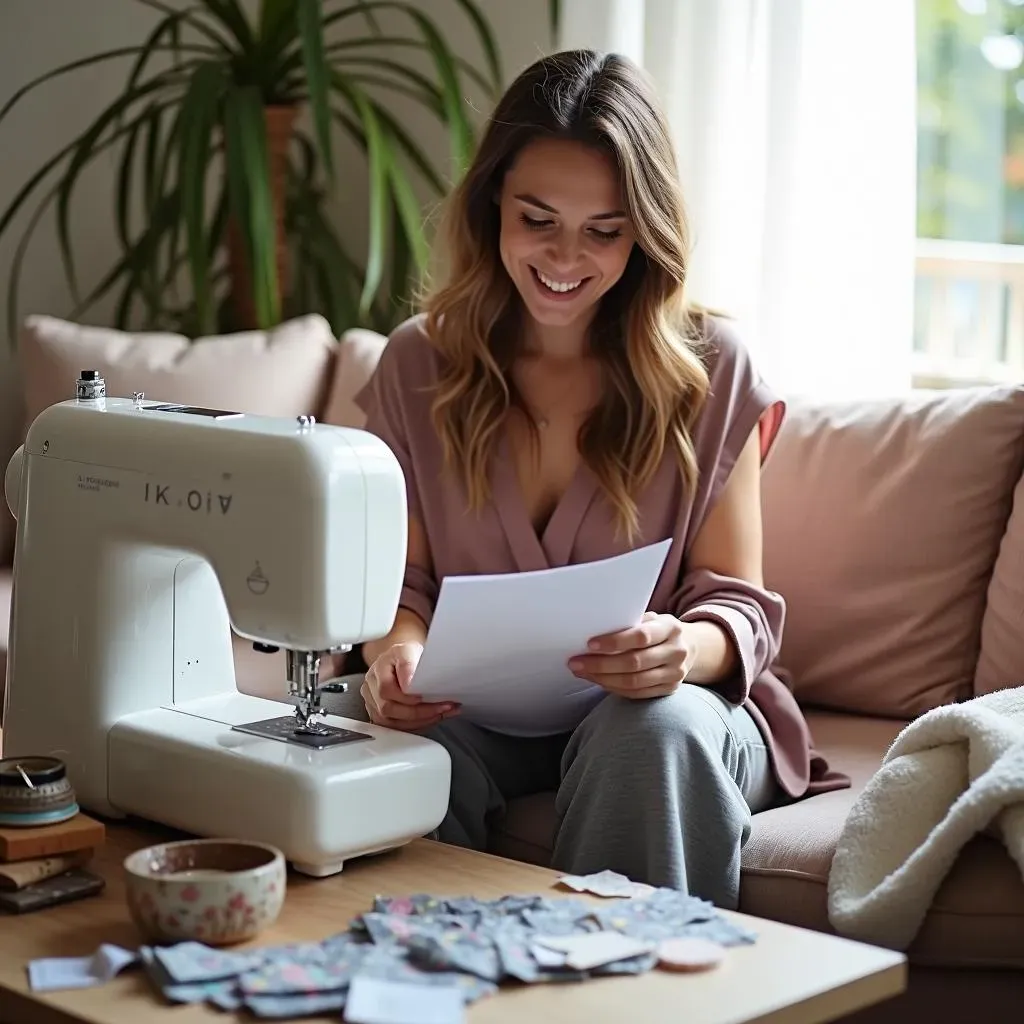
Before you even think about cutting into fabric, you've got to print the pattern. You have the option to print it on A4 or letter paper, which is perfect if you're working with a standard home printer. Or, if you're fancy and have access to a large format printer, you can use the A0 format. The PDF is layered, meaning you can select only the size you need before printing. This is genius, because it saves you from printing a bunch of sizes you won’t use, which is a total waste of paper and ink. Make sure to read the printing guide before you start, this will avoid any frustration later. Once you have your pattern printed, you'll see all the pieces you need for your pants: front and back legs, waistband, and any other little bits. The pattern also includes a handy size guide, so you can make sure you're choosing the right size for your body type, remember to measure yourself accurately, it's the key for a good fit. So, take your time, be precise, and you'll be setting yourself up for sewing success!
Pattern Feature | Description |
|---|---|
Sizes | XXS to 5XL |
Fabric | Designed for knit fabrics |
Waist | Extra-high waist for support and coverage |
Legs | Ankle-length, wide legs for comfort and style |
Print Options | A4/letter and A0 paper formats, layered PDF |
StepbyStep Guide: Sewing Your Wide Leg Yoga Pants
StepbyStep Guide: Sewing Your Wide Leg Yoga Pants
Getting Started: Gathering Your Supplies
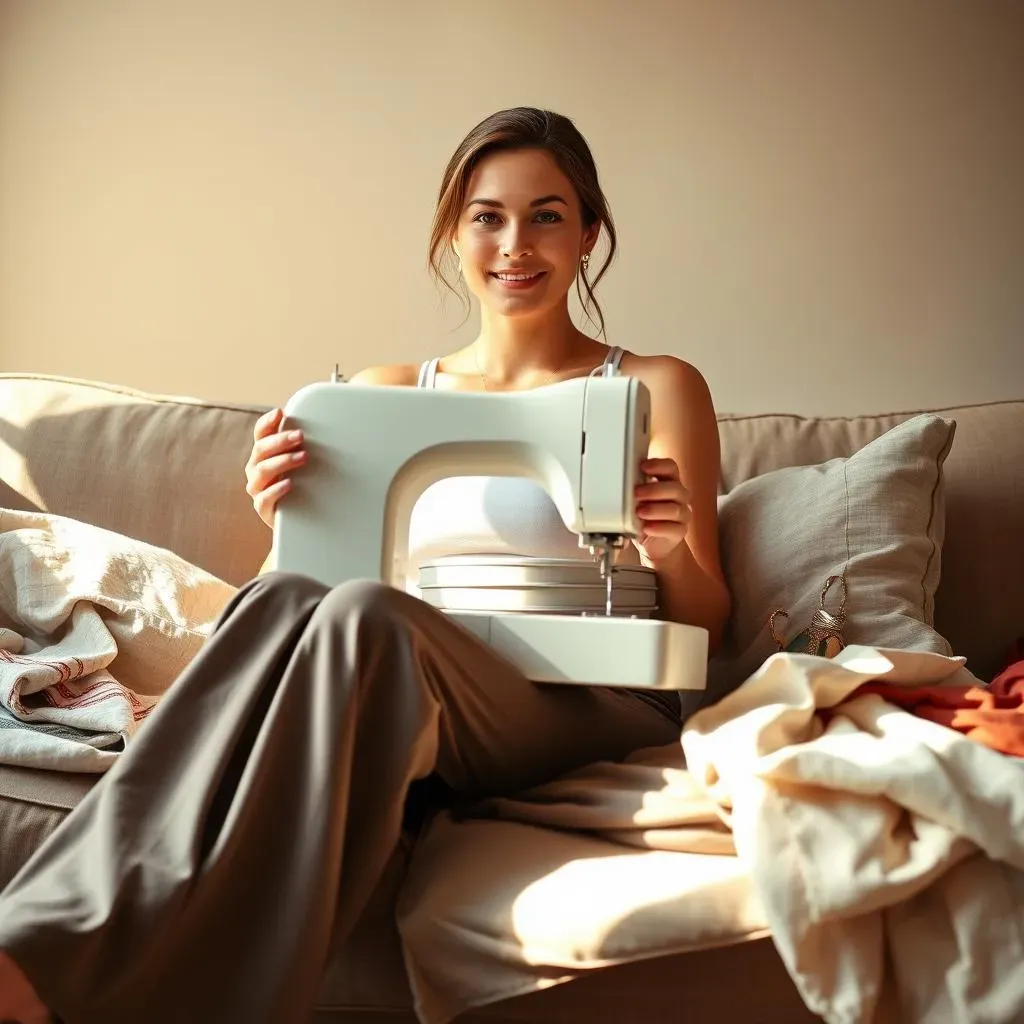
Okay, you've got your pattern printed, now it’s time to gather your tools! This isn't a complicated project, but having everything ready will make the process much smoother. First, you’ll need your chosen knit fabric. Remember, something with good stretch is ideal. I like to use a soft jersey knit, but you can experiment with different types. You'll also need some 1-inch wide elastic for the waistband. This is what's going to keep your pants up, so make sure it's a good quality elastic. Then you’ll need your basic sewing tools: scissors or a rotary cutter, pins or clips, a sewing machine, and some thread that matches your fabric. Don’t forget a measuring tape to double check your measurements before you cut. Having a seam ripper nearby is also a good idea, just in case you make a little whoopsie. It happens to all of us!
Before you even touch your fabric, take a moment to wash and dry it. This is super important because it can shrink when you wash it for the first time and you don't want your pants to come out a size smaller than you expected. Pre-washing also removes any chemicals or finishes that might be on the fabric. Once your fabric is prepped, lay it out on a flat surface, making sure it's smooth and wrinkle-free. Now you’re ready to start cutting! It’s a good idea to take your time with this part and be as precise as you can. Cutting accurately is the foundation for a well-sewn garment, so don’t rush it.
Assembling Your Pants: The Sewing Process
Alright, let’s get to the fun part: sewing! Start by pinning or clipping the front and back leg pieces together, right sides facing each other. You will sew along the inseam and the outer seam. Use a stretch stitch or a zig-zag stitch to sew these seams, since knit fabric needs that flexibility. Once the legs are sewn, it's time to attach the waistband. Fold the waistband piece in half lengthwise, wrong sides together, and press. Then, pin it to the top of the pants, matching the raw edges. Sew the waistband to the pants, again using a stretch stitch. Be careful not to stretch the waistband too much as you sew, otherwise it will be too tight.
Next, you will need to create a casing for the elastic. Fold the top edge of the waistband down towards the inside of the pants by about 1.25 inches and sew it, leaving a small opening for inserting the elastic. Thread the elastic through the opening using a safety pin or elastic threader. Once the elastic is all the way through, sew the ends of the elastic together to form a loop. Then, sew the opening closed. It's like creating a little tunnel for the elastic. And that’s basically it! The last step is to hem the bottom of the pants. You can either fold the hem twice and sew it, or use a serger for a more professional finish. And now you have your very own custom-made wide leg yoga pants! Give them a try and see how awesome they feel.
Step | Action |
|---|---|
1 | Gather your supplies: fabric, elastic, sewing tools. |
2 | Pre-wash your fabric. |
3 | Cut out the pattern pieces. |
4 | Sew the leg seams together. |
5 | Attach the waistband. |
6 | Insert the elastic. |
7 | Hem the pants. |
Finishing Touches and Fit Adjustments
You've sewn your pants, but maybe they're not quite perfect yet. Don’t worry, that’s totally normal! Now is the time to make any final tweaks. Try on your pants and see how they fit. If they feel too loose or too tight, you can always adjust the elastic in the waistband or take in the side seams a little. It's all about getting that custom fit that feels just right for you. If the hem seems too long, you can easily adjust it. I like to try on my pants with the shoes I plan to wear with them before finalizing the hem length. This helps ensure they're the perfect length.
A good way to check the fit is to move around in them. Do some stretches, sit down, walk around, and see if anything feels uncomfortable. If you notice any bunching or pulling, you might need to adjust a seam or two. Don't be afraid to get out your seam ripper and make those adjustments. It’s all part of the sewing process! And remember, sewing is a journey, not a race. There might be a few hiccups along the way, but that’s okay. The important thing is that you learn from the process and end up with a pair of wide leg yoga pants that you absolutely love. And once you're done, you can proudly say, "I made these myself!" It’s a pretty awesome feeling, I promise you.
Tips and Tricks for Perfect Wide Leg Yoga Pants
Tips and Tricks for Perfect Wide Leg Yoga Pants
Choosing the Right Fabric
Okay, so you're ready to make some seriously awesome wide leg yoga pants? Let's talk fabric. It's not just about picking a pretty color; the type of fabric you choose will make a huge difference in how your pants look and feel. For these pants, you want something with good stretch and recovery. That means the fabric should stretch easily but also snap back into shape when you let go. My go-to is usually a good quality jersey knit. It’s soft, it’s stretchy, and it drapes really well. But don't be afraid to experiment! You could try a bamboo knit for extra softness, or a performance knit if you're planning on doing some serious workouts in these. Just make sure whatever you choose has at least 50% stretch, so your pants can move with you. Also, pay attention to the weight of the fabric. A lighter weight knit will be more flowy, while a heavier weight knit will have more structure. It's all about finding what feels best for you and your lifestyle.
And here's a pro tip: always pre-wash your fabric before you cut it. I know, it's tempting to skip this step and get straight to sewing, but trust me, it's important. Knit fabrics can shrink, and you don't want your beautifully sewn pants to suddenly become too small after the first wash. Pre-washing also removes any chemicals or finishes that might be on the fabric, which is good for your skin. So, take that extra step and wash your fabric before you start. Your future self will thank you.
Mastering the Fit: Adjustments and Tweaks
Alright, let's get real about fit. We all know that no two bodies are exactly the same, so it's likely you'll need to make a few tweaks to the pattern to get that perfect fit. The Dayna pattern is a great starting point, but don't be afraid to customize it. The first thing to check is the length. Before you hem your pants, try them on with the shoes you'll be wearing most often with them. This will help you decide exactly where you want the hem to fall. I like mine to skim the top of my shoes, but you might prefer them a bit longer or shorter. Next, check the waistband. If it feels too tight, you can adjust the elastic. I like to use a safety pin and try on the pants with the elastic threaded in, before sewing the elastic ends together. This allows you to adjust the tightness as needed.
And what about the legs? If you find that the legs are too wide, you can always take in the side seams a little. Just remember to try them on as you go to make sure you’re not making them too tight. If you're struggling with fit, take a look at your body type. If you're curvier, you might need to add a bit more fabric to the hip area. If you have a straighter figure, you might need to take in the side seams a bit more. The key here is to be patient and keep trying things until you find what works best for you. Sewing is all about learning and experimenting, so don't be afraid to make mistakes. That's how you learn, and that's how you end up with a pair of pants that fit you like a dream.
Tip | Description |
|---|---|
Fabric Choice | Opt for knit fabrics with good stretch and recovery. |
Pre-wash | Always pre-wash fabric to avoid shrinkage. |
Length Check | Try on pants with shoes before hemming. |
Waistband | Adjust elastic for a comfortable fit. |
Leg Width | Take in side seams if legs are too wide. |
Pro Sewing Hacks
Alright, let's talk some pro-level sewing hacks that will take your wide leg yoga pants to the next level. First up, let's talk about needles. Using the right needle for knit fabric is key. I recommend using a ballpoint or stretch needle. These needles have a rounded tip that pushes the fibers of the fabric aside instead of piercing them, which helps prevent skipped stitches and runs. It's a small change that makes a huge difference. Also, when sewing with knit fabric, don't pull or stretch the fabric as you sew. This can cause the seams to ripple or pucker. Instead, let the feed dogs of your sewing machine do the work. And if you have a walking foot, use it! This will help feed the fabric evenly and prevent any stretching or distortion.
Another hack is to use a serger if you have one. A serger is a special sewing machine that trims the edges of the fabric and sews a seam at the same time. It's a game-changer for knit fabrics, because it creates a really nice, clean finish. If you don’t have a serger, don't worry, you can still get great results with a regular sewing machine. Just use a zig-zag stitch or a stretch stitch to sew your seams. And when you're hemming, try using a twin needle for a professional-looking finish. A twin needle creates two rows of stitching at the same time, which looks really nice on hems. Finally, don't be afraid to experiment with different stitching techniques and finishes. Sewing is a creative process, so have fun with it!